11 Apr, 2025
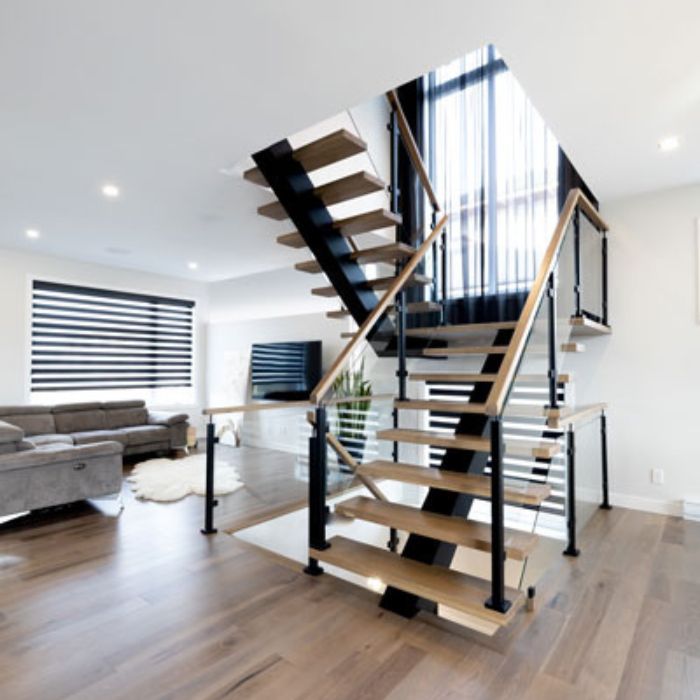
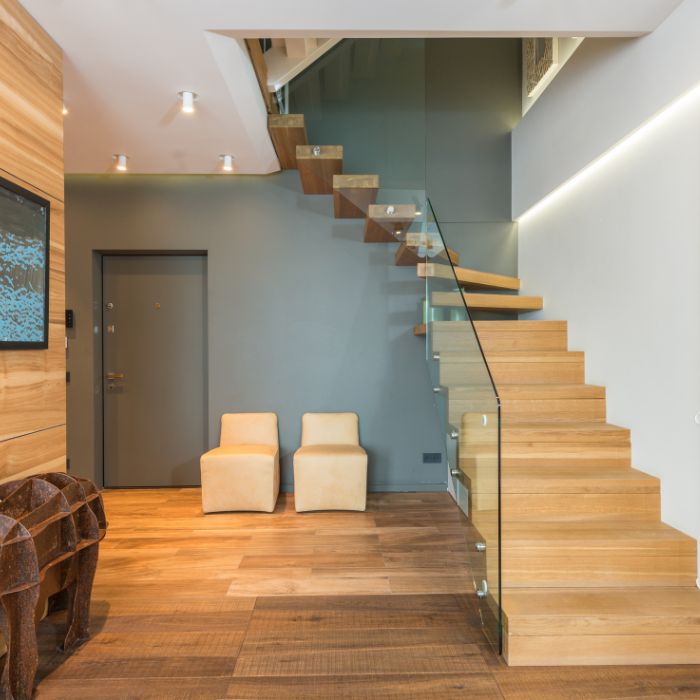
Mono stringer staircases are a popular choice for modern homes and commercial spaces due to their sleek, minimalistic design and open, airy appearance. Unlike traditional staircases that have two stringers on either side to support the treads, mono stringer staircases utilise a single central stringer, creating a striking visual effect. If you’re looking to design and installing a mono stringer staircase, this guide will walk you through the essential steps, from design considerations to installation tips.
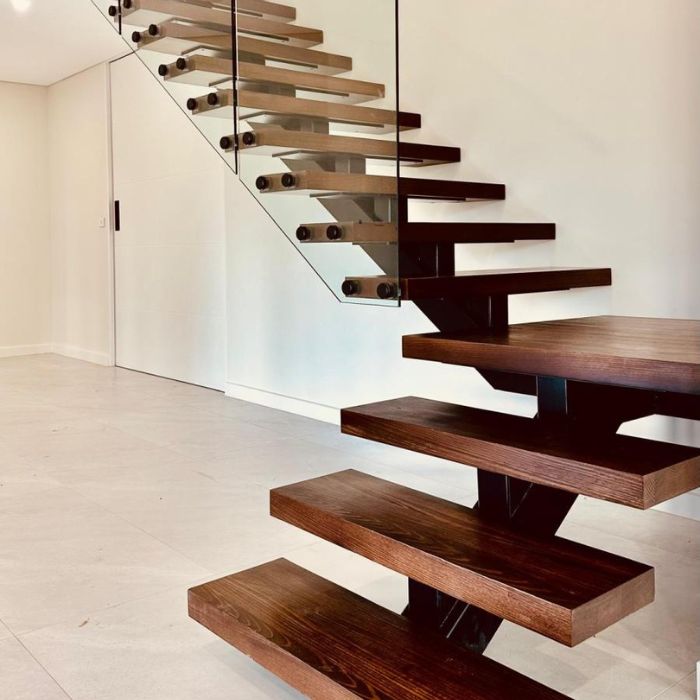
A mono stringer staircase is a type of staircase supported by a single central stringer. The stringer acts as the backbone of the staircase, supporting the treads (steps) on both sides. This design gives the staircase a more open, airy, and contemporary feel compared to traditional multi-stringer staircases. The central stringer is often made from materials like steel, wood, or reinforced concrete to provide adequate support.
Before diving into the design and installation process, it’s important to understand why a mono stringer staircase might be the right choice for your project. Here are some benefits:
Designing a mono stringer staircase requires careful planning to ensure both functionality and safety. Here are the key steps to consider when designing your staircase:
The first step in designing a mono stringer staircase is to determine the height (rise) and depth (run) of the staircase. You need to know how many steps the staircase will have and the total rise from the lower floor to the upper floor.
The standard rise for each step is typically between 7-8 inches (175-200mm), and the run is usually between 9-11 inches (225-275mm). Use these measurements to calculate the number of steps needed for the staircase.
The material you choose for the central stringer and the treads will affect the overall look and durability of the staircase. Here are some options:
The single central stringer needs to be strong enough to support the treads. Depending on the material and weight of the staircase, you may need additional support, such as:
If your staircase has a landing or turns, the design will need to accommodate that. The landing should be wide enough to allow for comfortable movement and the transition from one flight to another.
Ensure the staircase design includes safety features like proper railing height, non-slip tread surfaces, and secure fastening for the stringer and treads.
Installation of a mono stringer staircase can be complex and may require professional assistance, especially when it comes to working with heavy materials like steel or ensuring proper structural integrity. However, if you have the right skills and tools, you can take on the task yourself. Here’s a basic step-by-step guide to installation:
Before beginning the installation, ensure that the space is properly prepared. This includes:
The central stringer is the core support of the staircase, and its installation is the most critical part. Here’s how to install it:
Once the stringer is securely in place, you can begin attaching the treads. For a floating look, the treads may be attached with hidden supports or brackets.
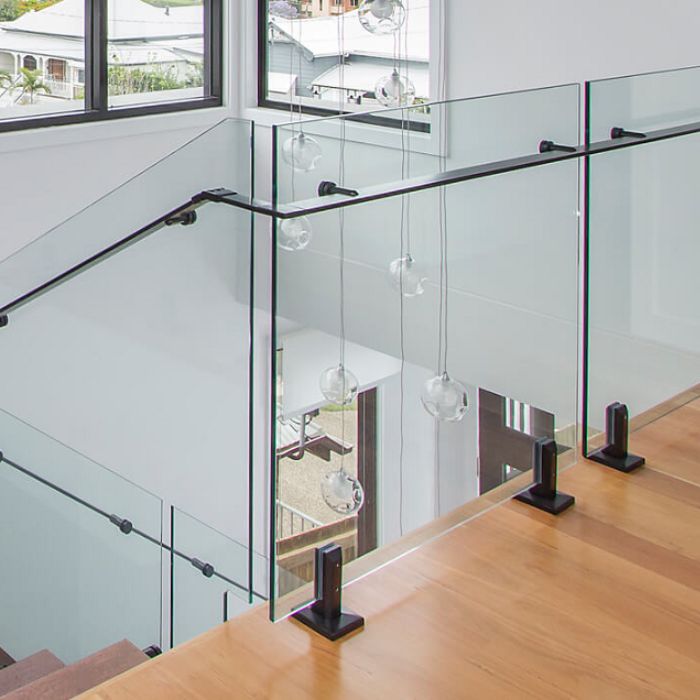
After the treads are in place, you can install the handrails or balustrades for added safety. Ensure they are installed at the proper height (usually between 34-38 inches) and are securely fastened.
Once the staircase is fully assembled, perform a final inspection:
Designing and installing a mono stringer staircase is a great way to bring a modern, stylish touch to your home or commercial space. By carefully considering the design, choosing the staircase builder, and following a step-by-step installation process, you can create a staircase that is both functional and aesthetically pleasing. While installation can be a complex task, with proper planning and attention to detail, you can achieve a beautiful result that will last for years to come.